Boll

Martin Boll, January, 2010

Take a normal 870ml (fruit-) can, cut with a sharp-edged knife parallel cuts in the bottom with about 5mm distance.

1.-Bend with a screw-driver and pliers the metal-ribbons to get a grate.
This alone works well, but looses some fuel/charcoal.

2.- Form a “plissee”-metal-sheet (pleated) out of the side of a (10cm
diameter) can.

Each zig-zag-side about 1cm. The angles 60°. Put the can with slits ( like
1.-) onto the plisse-grate/support, so that the slits cross the plies in 90°.

-The plissee-lines are directed in wind-direction.

-The ashes on the pleated-metal-sheet can be cleaned with a thin stick or wire, while burning; but caution, that the tin-can-stove does not tumble.

-Another advantage of the plissee is, that the grat/bottom is heat-isolating and protected by the ashes. The charcoal falling through the upper gate is burning on the ashes on the plissee.

Martin Boll, Germany, November 2005

To all,

interested in blow and draft.

I found a website you possibly don't know. I like to call this stoves

principle: "natural blow by natural draft"

Have a look to the page. It's in French, but there are pictures, simply to understand.

http://users.skynet.be/sb284947/Poeles/Index/Poel_index.htm

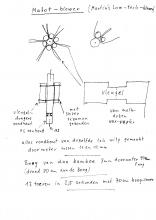
Malot Blower Drawing
Malot Construction 1
Malot Construction 2
Malot Construction 3
Malot Construction 4
Malot Construction 5
Malot Construction 6
Malot Construction 7
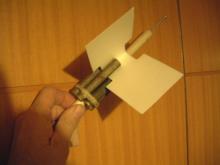
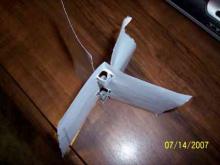
Four Blade Malot Blower #1
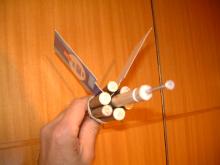
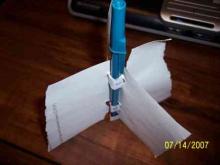
Four Blade Malot Blower #2
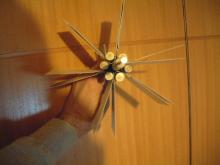
Four Blade Malot Blower #3

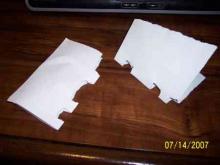
First posted by Jeff Davis on 14 July 2007.

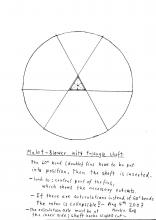
1st drawing: looking in direction of the axle-
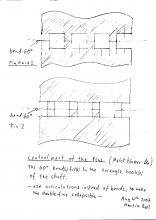
2nd drawing: central part of the double-fins showing the different cut-outs, to fit all the three together

Malot-Blower with Triangle-Shaft
Martin Boll August, 2007.

- 1st drawing: looking in direction of the axle-

The thickness of the shaft is no problem. I attach an exel-sheet, where you
can see this.

The difference in cross-square between a 0.5cm shaft and a 4.5cm shaft is
more or less the same as the difference between a rotor-diameter between
19.5 and 20.0cm. If you need a bigger central hole because and the rotor
would not work (which I don't believe), make the diameter of the rotor a

File attachments: 

[img_assist|nid=1311|title=Pelton Wheel|desc=Figure 135|link=node|align=left|width=190|height=200]

Below you will find a Pelton Wheel article that was translated by Martin Boll. The original text is italicized.

[1] (The young machinery constructor)

[2] (A Introduction into the elements of maschnery-construction and instruction
for making small models)

[3] "Adams Machinery-Book for Boys"Der junge Maschinenbauer (The young machinery constructor) Eine Einführung in die Elemente des Maschinenbaus und Anleitung zur Herstellung kleiner Modelle (A Introduction into the elements of maschnery-construction and instruction for making smal
(Copyright 1909 By Harper & Brothers)

[4] There, where a relative small amount of water, but a stronger
pressure is available, we use as well a sort of undershot water-wheel, by
using the high water-pressure with very high speed to bound against the
paddles of the wheel.
"

files/images/Cork-Pot-Stand-23.09.2005-0_0.jpg

files/images/Cork-Pot-Stand-23.09.2005 010_0.jpg

files/images/Cork-Pot-Stand-23.09.2005 009_0.jpg

Pages

Subscribe to Boll